Drug Test Instructions for Urine and Oral Saliva Drug Test Kits.
Getting The Best From Our Drug Test Instructions.
This is a Step-by-Step Guide on how to test an individual for drug abuse. Get reliable results, and identify the cheaters on the way. We cannot stress how important it is to administer the process correctly. A drug test will only give you correct results if you follow and understand the instructions thoroughly.
Using a drug test kit to test someone is only part of the process because, without the correct testing procedure, you will never be sure the results are accurate and the donor hasn’t cheated. So, follow the approved method that we use when testing a client.
Never give notice to the individual you will be testing. Even short notice may allow a user to try and beat the drug test.
Don’t be fooled! People will go to great lengths to try and cheat. Trust me; we see it every day.
Technician with 15 years experience.
Urine Drug Test Instructions for The Administrator:
The person who records and administers the test.
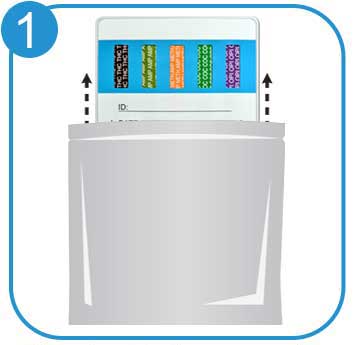
- Remove a new urine testing device from its sealed pouch and place it on the counter.
- If using a dip card, prepare a clean specimen cup for the urine sample. Use a specimen cup with a temperature strip affixed to the side. This checks the temperature before analysis.
Urine Drug Test Instructions for The Donor:
The person who gives their urine for testing.
- Ask the individual to remove any outer garments and place them on one side.
- Then, ask them to turn out their pockets empty the contents, and place them in a lockable box. We ask them to do this to ensure they are not trying to hide anything that might compromise the sample they provide.
- Now, ask them to wash their hands to clean off any contaminants that might be present on their hands or under their fingernails.
- Advise them to provide a urine sample of at least 30 mL. This part of the process is time-sensitive; ask them to complete the task as quickly as possible, as the temperature needs to be checked and in range.
- Advise them not to flush the toilet after completion. You need to check the toilet bowl for signs of discarded paraphernalia.
Completing The Analysis.
- The administrator now checks the sample temperature. The temperature should be between 93° and 98° Fahrenheit. If it’s out of range, ask the donor to provide a new sample or ask them to wait until they can. If it’s out of range, ask the donor for a new sample or ask them to wait until they can provide one. Ensure they stay in the testing area until the process has been completed.
- Observe the urine color; it should be light yellow with an odor. Bright yellow or a clear sample is a warning sign that it may have been substituted or diluted.
- We recommend that you use a drug adulteration strip, whenever possible, this establishes the integrity of the sample.
Dip Card Drug Test.


Dip Card Drug Test Instructions.
- Open the package containing the dip card. Discard the desiccant in the package. Remove the protective cap from the dip card.
- Immerse only the tips into the urine sample. Remove the dip card from the sample after 20 seconds. Then, replace the cap and place it on a flat surface.
- Note: You will start to see a reaction as the results develop and lines appear.
- After three minutes and no more than five the analysis is complete. Always refer to the device instructions.
Cup Drug Test.


Cup Drug Test Instructions.
- Open the package containing the test cup. Discard the desiccant in the package.
- Remove the protective cap from the test cup. Ask the donor to urinate directly into the cup to the level marked on the side.
- Replace the cap and remove the label from the face of the cup. ‘Read the Temperature‘ Ensure it’s between 93° to 98° F.
- After three minutes and no more than five the analysis is complete. Always refer to the device instructions.
Optional. If the device has an alcohol test, then read the result within three minutes
Oral / Saliva Drug Test.
Brief Description of How an Oral Device Works.
After closing the lid, the oral fluid from the saturated sponge is squeezed out into the cube. After a few minutes, the fluid is absorbed by the test strips. The fluid travels by capillary action along the strip to the test area and appears as a reddish line.


Oral Drug Test Instructions.
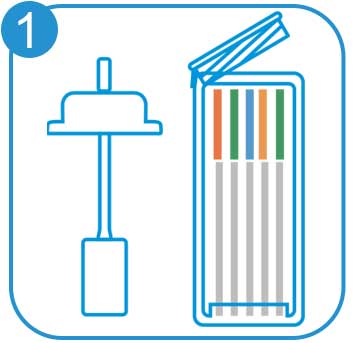
- Open the package containing the test cube and wand. Discard the desiccant in the package.
- Provide the test subject with the collection stick (usually a swab or sponge). Instruct the individual to place the collection stick between their cheek and gums and gently rub it around the mouth for 2-4 minutes to ensure the sponge is fully saturated. Hold under the tongue for a minimum of 3 minutes for sufficient sample collection. Note: some collection sticks have a visual indicator telling you enough saliva has been collected.
- Once the collection is complete, place the device directly into the test cube and firmly close the lid for analysis.
- Wait 5 to 10 minutes for the result to develop. Then interpret the result according to the instructions.
Reading And Interpreting The Test Results | Urine or Saliva.

Interpreting the Result:
- Negative: Two lines appear; one is the test line, and the other is the control line.
- Positive: Only one line appears, this is the control line.
- Invalid: No lines, this indicates an insufficient fluid sample for the strips to absorb urine or oral fluid.
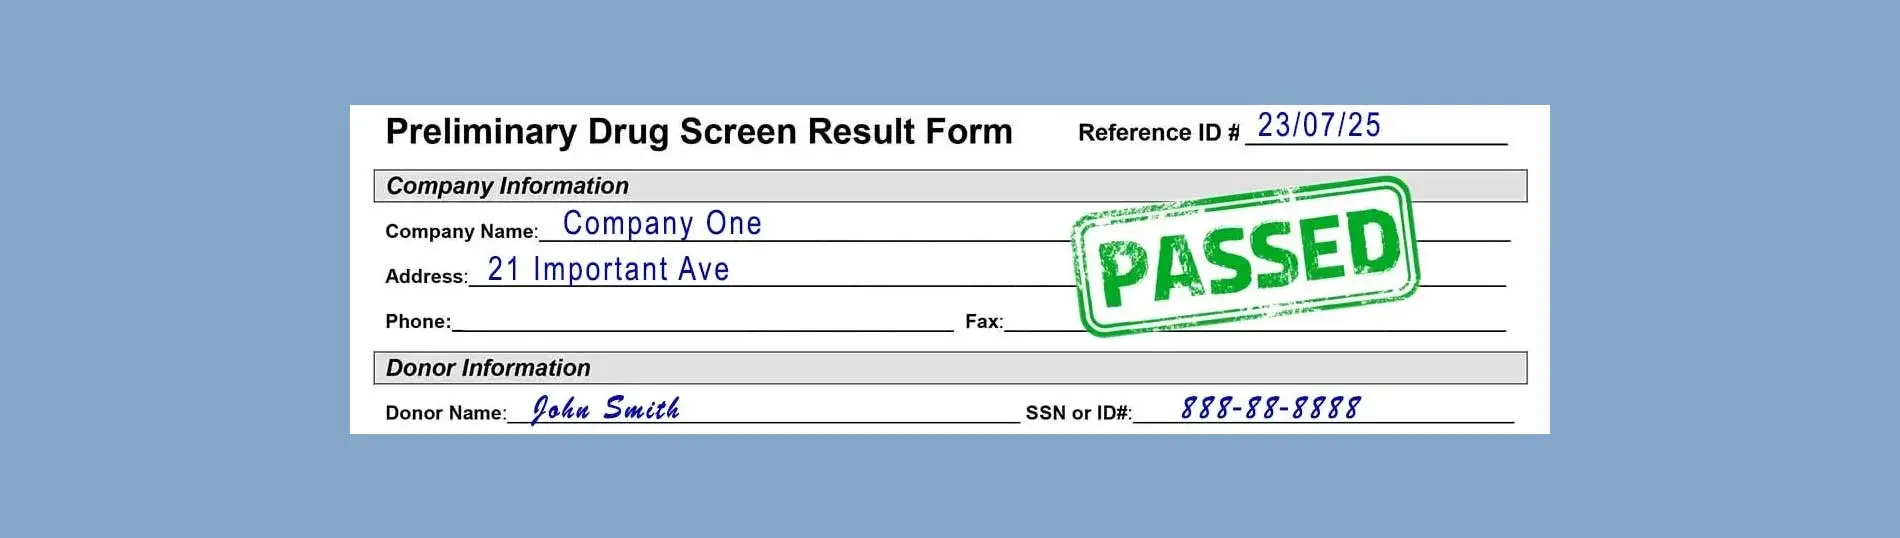
Drug Test Instructions: How to Document the Result.
Read Errors:
- If you do not see any lines develop on the test cube, card, or cup, it’s almost certain the sample volume was insufficient.
- Open a new test and start the process again.
Do Not…
- Reuse collection devices or test cups, as it will lead to cross-contamination and invalid results.
- Mishandle or damage the test kit components, as it can compromise the reliability of the test.
- Neglect following the test kit’s instructions; each kit may have specific requirements and variations.
- We recommend you document every test for future reference.
- Enter the donor’s information.
- Enter the reason for the test, date, and time.
- Instruct the donor to sign and date.
- Enter the type of test and what drugs were analyzed.
- Enter the sample temperature and result and any additional remarks.
- Finally, as the administrator, sign and date to complete the process.
